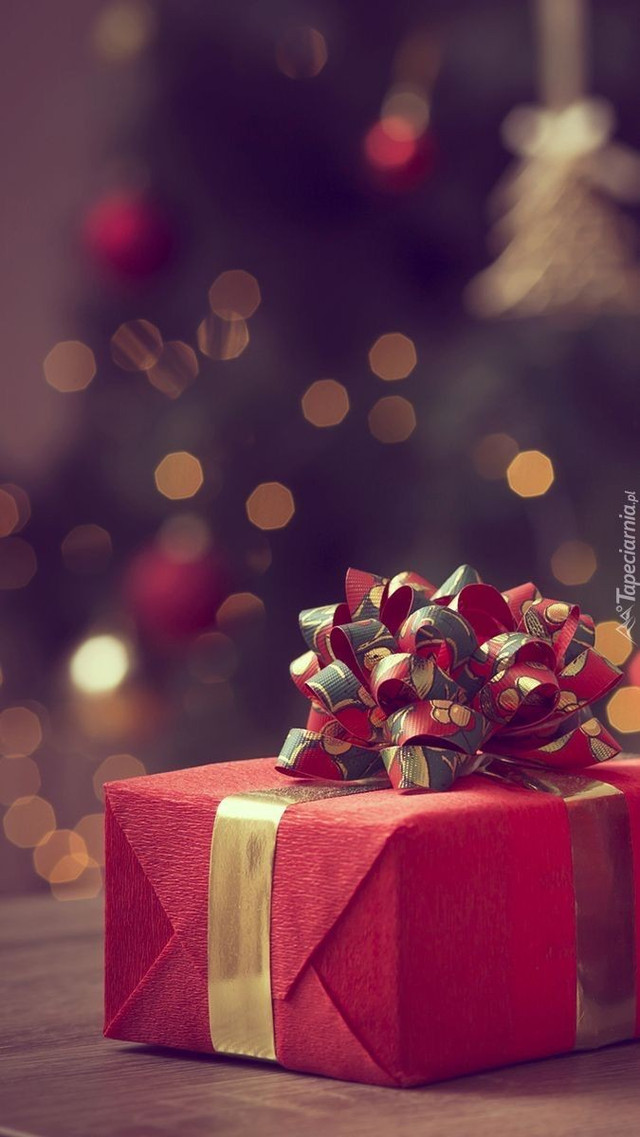
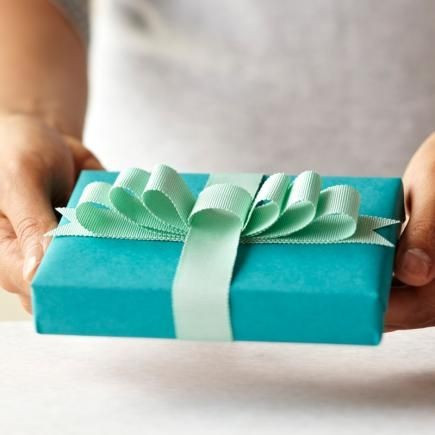
The holidays are already beginning, everyone is preparing gifts for each other, here certainly can not do without such a decorative element as a bow.
Do not know how to make it beautifully and interestingly? Do you want to create a sense of mystery and expectation, so that the recipient of the gift is interested in what is under it?
In this article, presented at once 3 variants of bows on gifts, you can choose as the simplest, and the level of complexity.
1. Classic bow

In order to make a classic bow, follow these steps:
Take a ribbon of the desired length and width. Usually a ribbon between 2 and 4 cm wide is used for a bow.
Fold the ribbon in half so that the ends meet in the middle.
Take the first ribbon and roll it into a loop. Secure the loop in the center to create the base of the bow.
Fold the bow base in half so that the top and bottom edges meet. Pinch them together.
Use the second ribbon you left for the tie. Wrap it around the center of the bow and tie a knot in the back to secure the bow.
If necessary, twist and tweak the loops to make them look symmetrical and pretty.
Trim the ends of the ribbon at an angle to give the bow a neater look.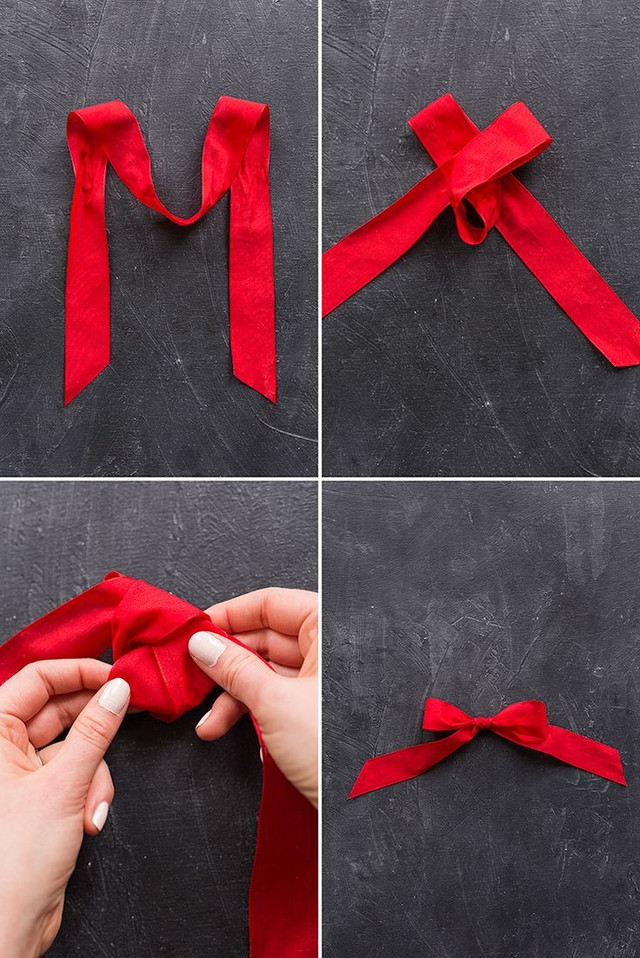
Your classic bow is ready!
You can experiment with different colors and sizes of ribbons to create unique bows for gifts, jewelry, or other purposes.
2. Bulk bow from individual strips
First, prepare strips of paper or ribbon in the desired width and colors. You can use one or more colors for an interesting design.
Fold each strip in half so that it forms a loop.
Bring the ends of each strip together to form a ring and secure them with tape or glue. This will be the base for each element of the bow.
Create several of these ring elements in different sizes to make a three-dimensional bow.
Assemble the bow elements by placing them one on top of the other from larger to smaller, and fasten them together in the center. This will create a three-dimensional effect.
If desired, add thinner strips to the center of the bow to cover the attachment and give a more finished look.
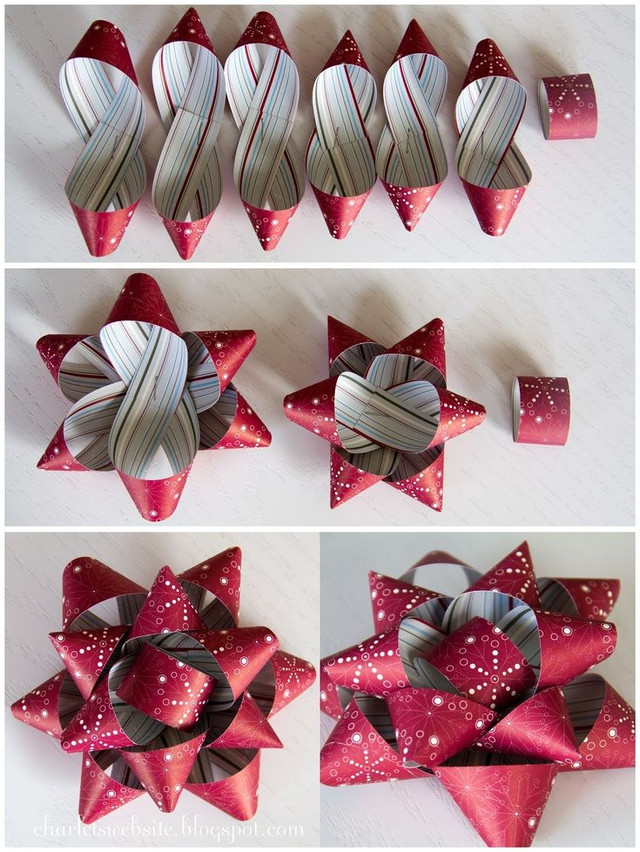
This way you can create a three-dimensional bow from individual strips that can be used to decorate gifts, bouquets, décor, and other projects.
3. Staple bow
Take the ribbon and cut it into four pieces of different lengths. Determine the desired size of each piece, keeping in mind that longer pieces will usually be used to form larger bow loops and shorter pieces will be used for smaller ones.
Take one of the pieces of ribbon and join its ends together to form a ring.
To keep the loops in shape, use a stapler and staple the center of each loop together.
Arrange the loops on top of the ring so that they look like the ribbons of a bow.
Use the remaining end of the ribbon or extra ribbon to attach the bow to the gift. Wrap the ribbon around the gift and tie it in place.
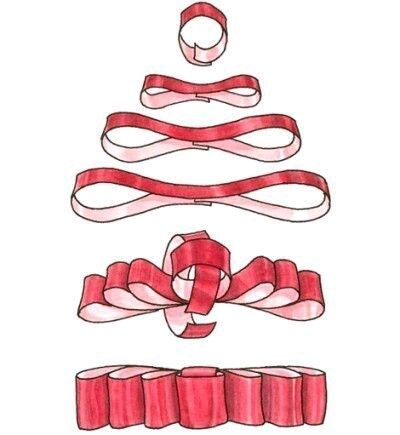
You now have a beautiful bow to decorate your gift, made from four pieces of ribbon. This method of creating a bow is simple and effective. You can also add embellishments or flowers to give the bow extra beauty.


